
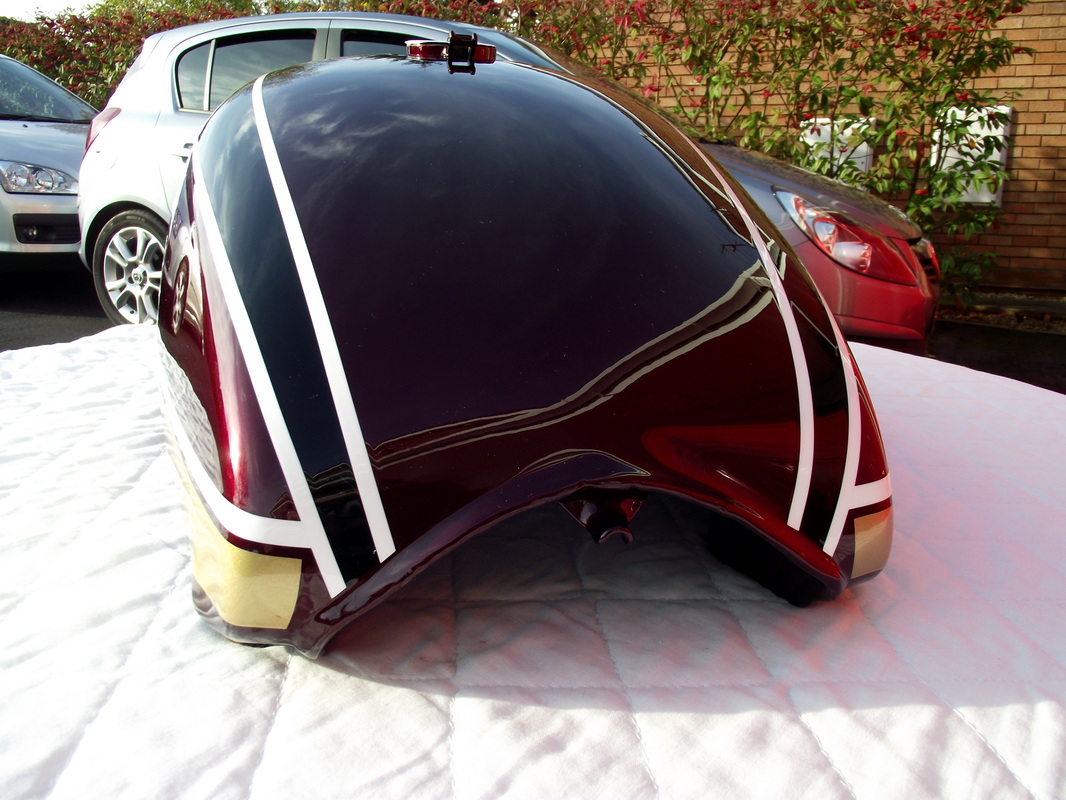
On a rebuilt bike expensive new paint on the tank will be rubbing against a new or re-covered seat. This can lead to dull and damaged paintwork on the tank.
Here's what we do -
Here's what we do -
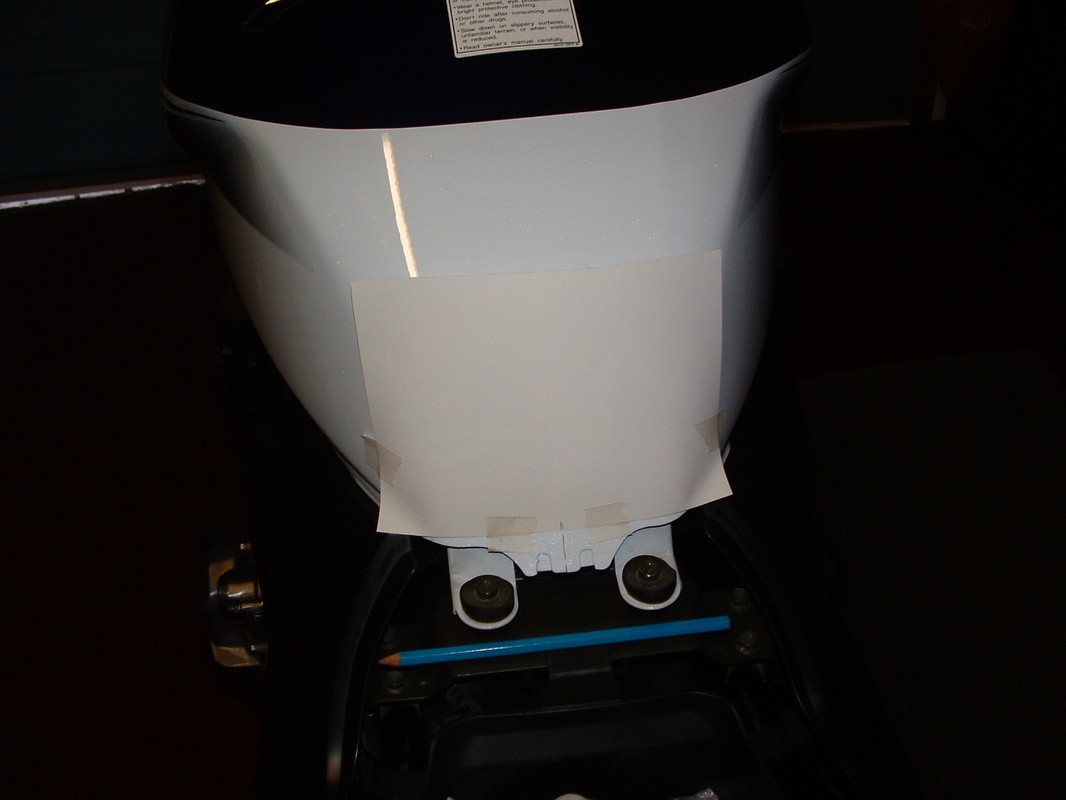
Mark the centre line on the lower edge of a paper sheet.
Line this up with the centre of the tank.
Fit with masking tape.
Line this up with the centre of the tank.
Fit with masking tape.
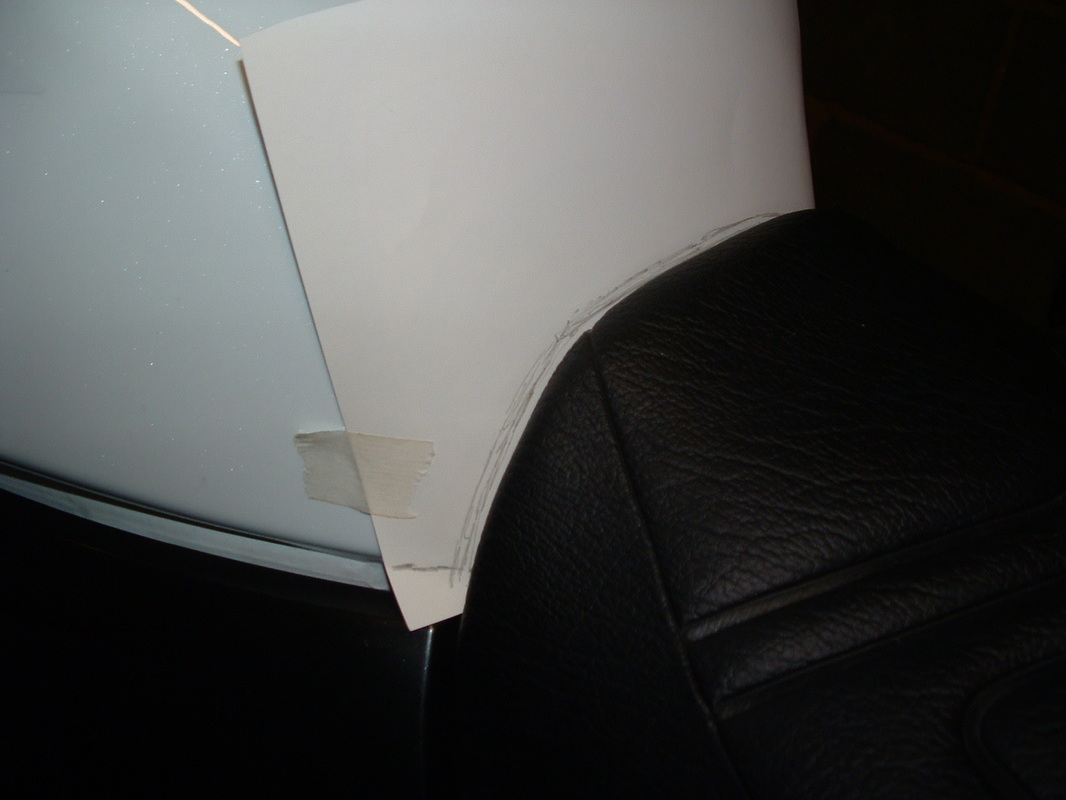
Close the seat fully.
Mark the seat outline against the tank.
Note any lower seam - its easier not to flow over those.
Mark the seat outline against the tank.
Note any lower seam - its easier not to flow over those.

Remove the paper.
Cut out 1-3 mm inside the outline mark.
Re-fit and check against the closed seat.
Cut out 1-3 mm inside the outline mark.
Re-fit and check against the closed seat.

Aim to make the shape just small enough to be hidden by the seat.
Remember to line up the centre of the tank and the centre mark on the paper every time it is fitted.
Remember to line up the centre of the tank and the centre mark on the paper every time it is fitted.

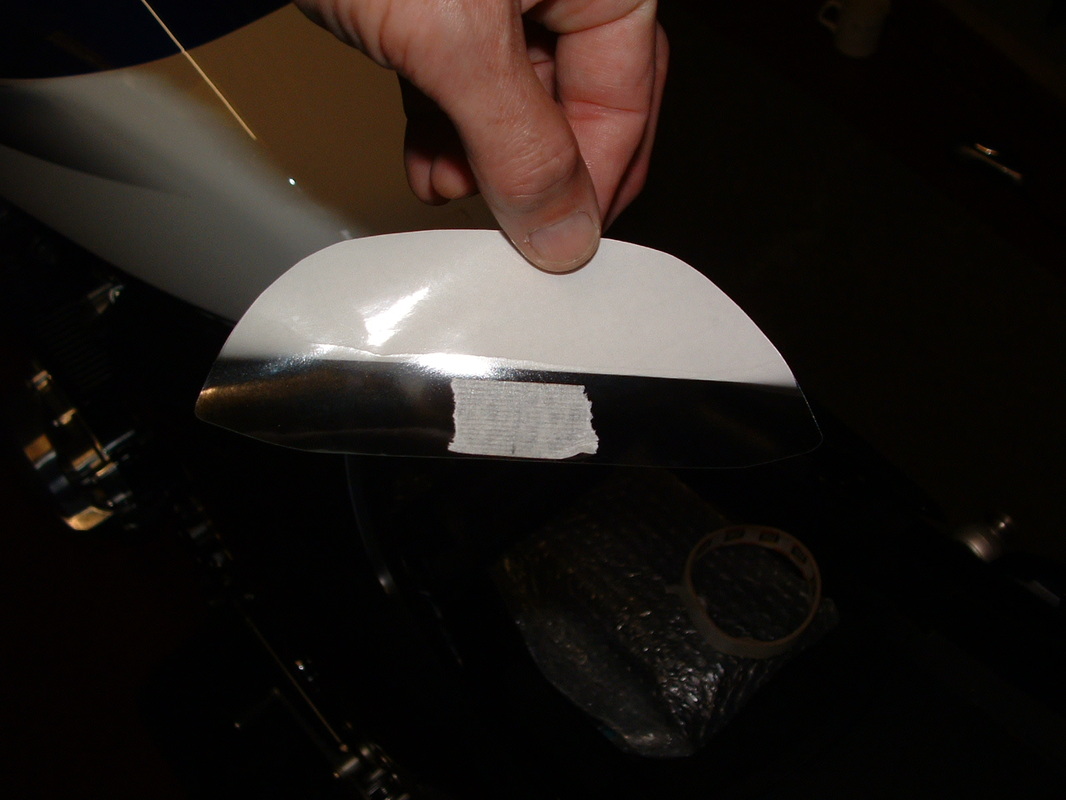
Use the paper template to cut a clear adhesive backed plastic film replica.
You can double up on the clear plastic sheets if you want extra protection - but it will be a litle more opaque.
You can double up on the clear plastic sheets if you want extra protection - but it will be a litle more opaque.

Remember to copy the centre mark onto the new clear protector.
Use tape or a wipe off pen for this.
Use tape or a wipe off pen for this.
Peel the backing from the lower (longest) edge.
Offer the plastic up to the tank - using the centre marks.
Spread it on from lower middle mark - outward in a fan shape.
Offer the plastic up to the tank - using the centre marks.
Spread it on from lower middle mark - outward in a fan shape.
Do one half at a time if you are not confident.
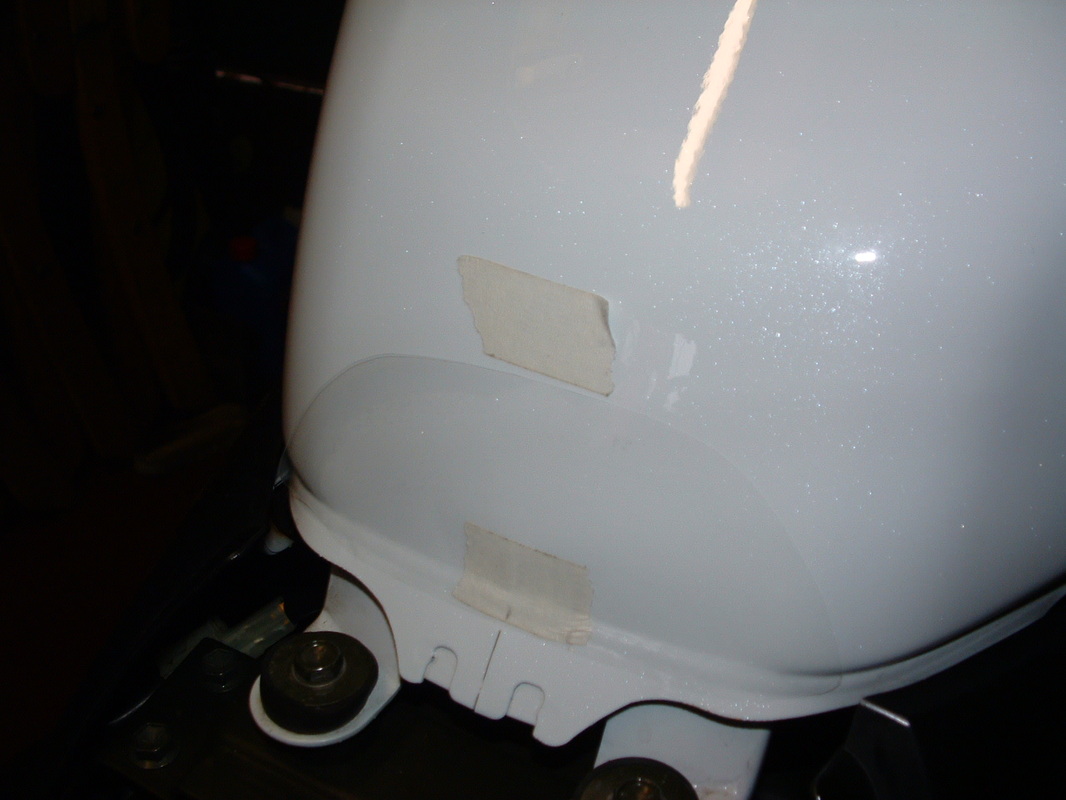
We added a piece of tape to mark the highest point for the protector.
You can see the lower left side still needs smoothing down.
We added a piece of tape to mark the highest point for the protector.
You can see the lower left side still needs smoothing down.

Here's the finished result with fitting tape & marks removed.
The seat will help to hold it in place.
The seat will help to hold it in place.
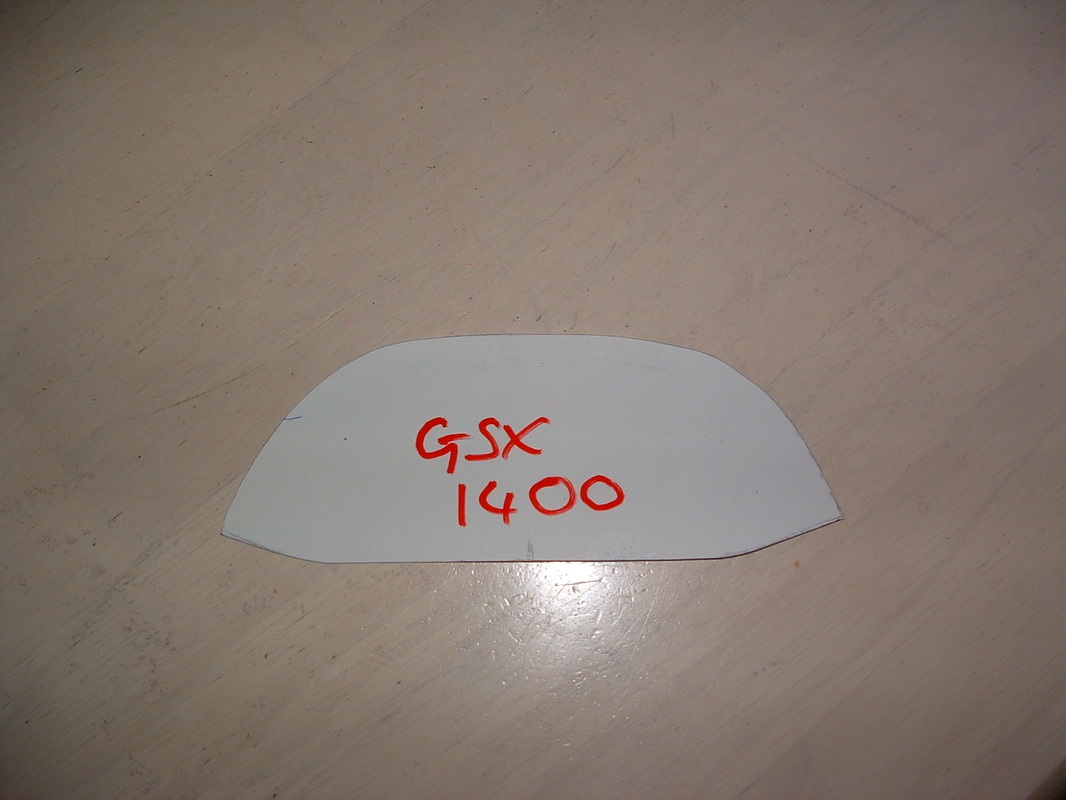
Keep the template for future reference.
You may need another one day.
You may need another one day.
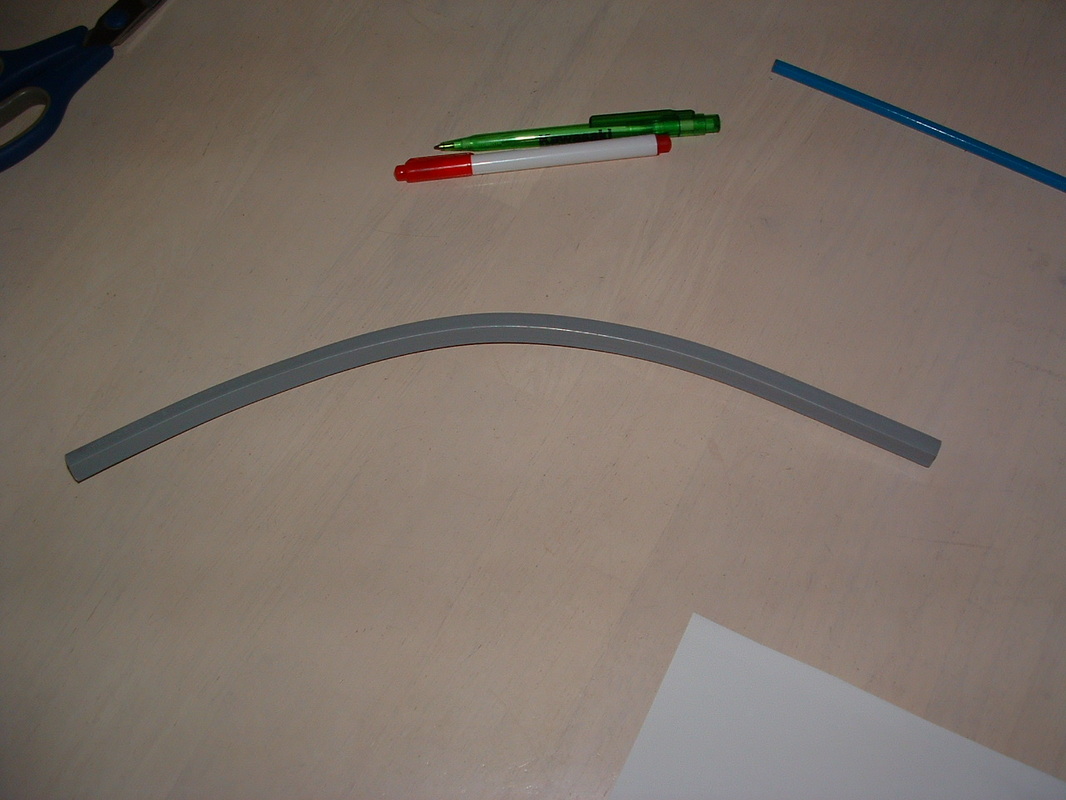
Use bendy plastic strips if you are not to good at getting smooth curves.
Don't leave pointed corners on your protector - round them off slightly.
This helps to stop it being caught and starting to peel back.
Don't leave pointed corners on your protector - round them off slightly.
This helps to stop it being caught and starting to peel back.
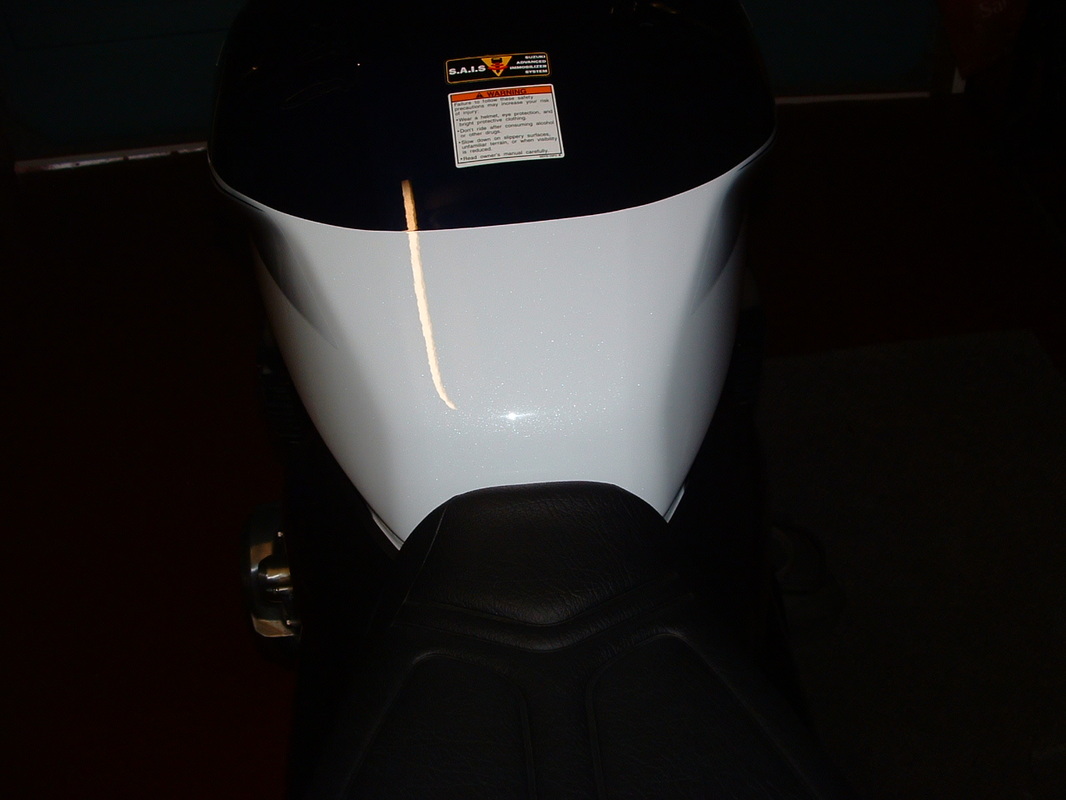
Here's the finished job.
Not visible - and the new tank and seat can wear together into the right fit - with no damage to the paintwork.
Not visible - and the new tank and seat can wear together into the right fit - with no damage to the paintwork.
